HomeBlogBlogInflatable Camping Tent with Canopy: Fast, Waterproof Setup

Inflatable Camping Tent with Canopy: Fast, Waterproof Setup

Inflatable Camping Tent with Canopy: Fast, Waterproof Setup

Automatic Inflatable Camping Tent with Canopy – Waterproof Shelter with Fast Setup

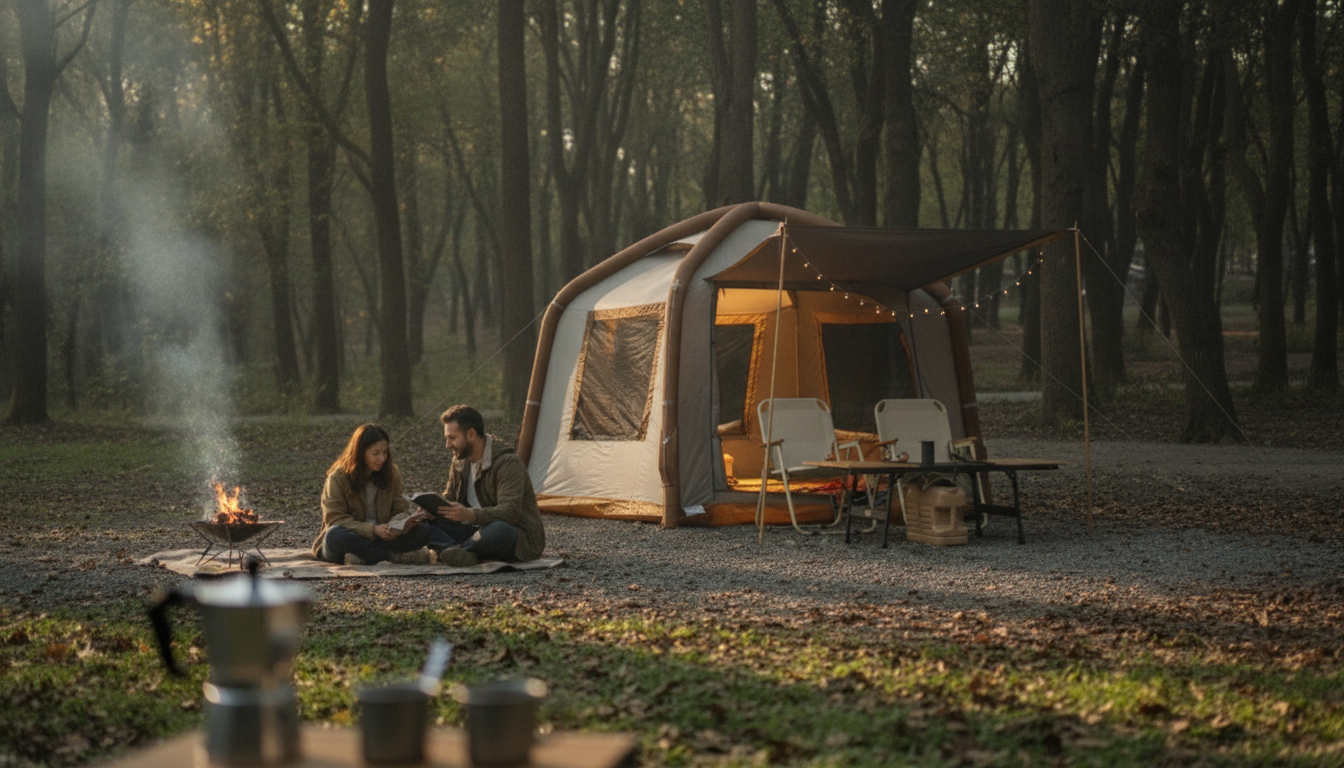
A comfortable camp starts with a shelter that goes up quickly, stays dry in unpredictable weather, and creates usable shade outside the door. An automatic inflatable tent with an attached canopy combines an air-beam structure for rapid pitching with a covered porch-style area for gear, cooking in light rain, or lounging out of the sun.

If your trips lean toward car camping, weekend getaways, or setting up a “home base” for fishing, hiking, or family time, an inflatable canopy tent can deliver the ease and comfort that keeps everyone happier when the forecast shifts.

What Makes an Inflatable Tent Different

  • Air-beam support replaces (or reduces) traditional rigid poles, helping simplify setup and minimize small parts.
  • The structure is typically inflated via a single or limited number of valves, creating a stable frame once pressurized.
  • If conditions shift, tightening guy lines and rechecking inflation can restore shape and tension without a full repitch.
  • Best suited for campers who prioritize quick pitching, comfort, and a “basecamp” feel over ultralight packing.

Because the frame “locks in” as the beams pressurize, inflatable models often feel more straightforward for newer campers: stake, inflate, then fine-tune with guylines. For weather readiness, the real difference is how easily you can re-tension the shelter after fabric relaxes or wind direction changes.

Canopy Benefits: More Than Extra Shade

  • Creates a transition zone for muddy boots, backpacks, wet jackets, and coolers, helping keep the sleeping area cleaner.
  • Adds usable space for seating or sorting gear even when drizzle or strong sun makes the open campsite uncomfortable.
  • Improves ventilation options by allowing the main door to be partially open while maintaining overhead cover.
  • Acts as a windbreak buffer when oriented correctly (low edge facing prevailing wind, guyed out for stability).

That covered “porch” is also a practical spot to manage condensation: keeping wet layers and damp shoes outside the sleeping area helps reduce indoor humidity. Just remember that any cooking under a canopy should be done with strong airflow and careful placement; for carbon monoxide safety, follow guidance from the CDC’s CO poisoning prevention resources.

Waterproofing That Holds Up Overnight

  • Look for a combination of rainfly coverage, taped seams, and a bathtub-style floor that rises above ground moisture.
  • Prioritize storm-ready details: protected zippers, reinforced guy points, and a fly that doesn’t press against inner walls.
  • Use a site-level strategy: pitch on slightly elevated ground and avoid depressions where water can pool.
  • Pair with a properly sized groundsheet to reduce abrasion without extending beyond the tent footprint (to prevent water channeling underneath).

Even the best waterproof materials can be undermined by a poor pitch. Before committing to a spot, check for shallow channels that could funnel runoff, and avoid exposed ridgelines when weather is unstable. For broader storm awareness and planning, consult the National Weather Service weather safety guidance.

Easy Setup Checklist (Inflate, Anchor, Tension)

  • Choose the flattest available spot and clear sharp debris; orient the canopy away from the strongest wind.
  • Stake the key corners first to control drift while inflating; keep fabric aligned and untwisted at the base.
  • Inflate gradually and check that beams are straight; stop at the recommended firmness rather than overinflating.
  • Add guy lines and tension the fly so water sheds cleanly; re-tension after 10–15 minutes as fabric relaxes.

A quick at-home practice run pays off. It helps you learn the valve layout, identify where staking matters most, and confirm you have the right pump/adapter ready to go.

Capacity, Comfort, and Real-World Space Planning

  • Sleeping capacity is typically measured shoulder-to-shoulder; size up if using thicker pads, bringing a dog, or storing gear inside.
  • Headroom matters for changing clothes and rainy-day downtime; air-beam designs often improve usable vertical space.
  • Canopy space can reduce the need to store gear inside, preserving ventilation and reducing condensation risk.
  • For families or longer stays, prioritize interior pockets, a lantern hook, and multiple vents for airflow control.

Inflatable vs. Pole Tents: Practical Tradeoffs

Quick comparison for camp planning

Feature Inflatable tent Pole tent
Typical setup Inflate beams, stake, guy out Assemble poles, thread/clip, stake, guy out
Common failure point Valve/leak/abrasion on beam sleeve Pole crack/bend, connector issues
Field repair Patch kit; keep a spare valve cap; avoid overpressure Pole splint/tape; spare section helps
Best for Fast basecamp comfort, fewer parts Wide price range, often lighter options

Care, Storage, and Longevity Tips

Good campsite habits help, too. Minimize ground damage, pack out trash, and respect campsite surfaces using the Leave No Trace Seven Principles as a baseline.

Shop In-Stock Picks

Automatic Inflatable Camping Tent with Canopy – Waterproof & Easy Setup

FAQ

How long does an inflatable camping tent take to set up?

Many campers can get an inflatable tent standing in about 5–15 minutes: stake the main corners, inflate the air beams, then add guylines and final tension. First-time setup can take longer, so practicing once at home helps you move faster at the campsite.

Are inflatable tents safe in wind and rain?

They can be, as long as the tent is staked and guyed correctly, oriented to reduce wind load, and kept at the recommended beam pressure. Rain performance also depends on fly tension and construction details like taped seams and a well-designed floor edge.

What happens if an air beam gets a puncture?

Small punctures are usually repairable with a patch kit: locate the leak, clean and patch the area, and reinflate to the correct firmness. Many designs protect the beam inside a sleeve, which reduces abrasion risk and can make field fixes more manageable.

Was this article helpful?

Yes No
Leave a comment
Top

Shopping cart

×