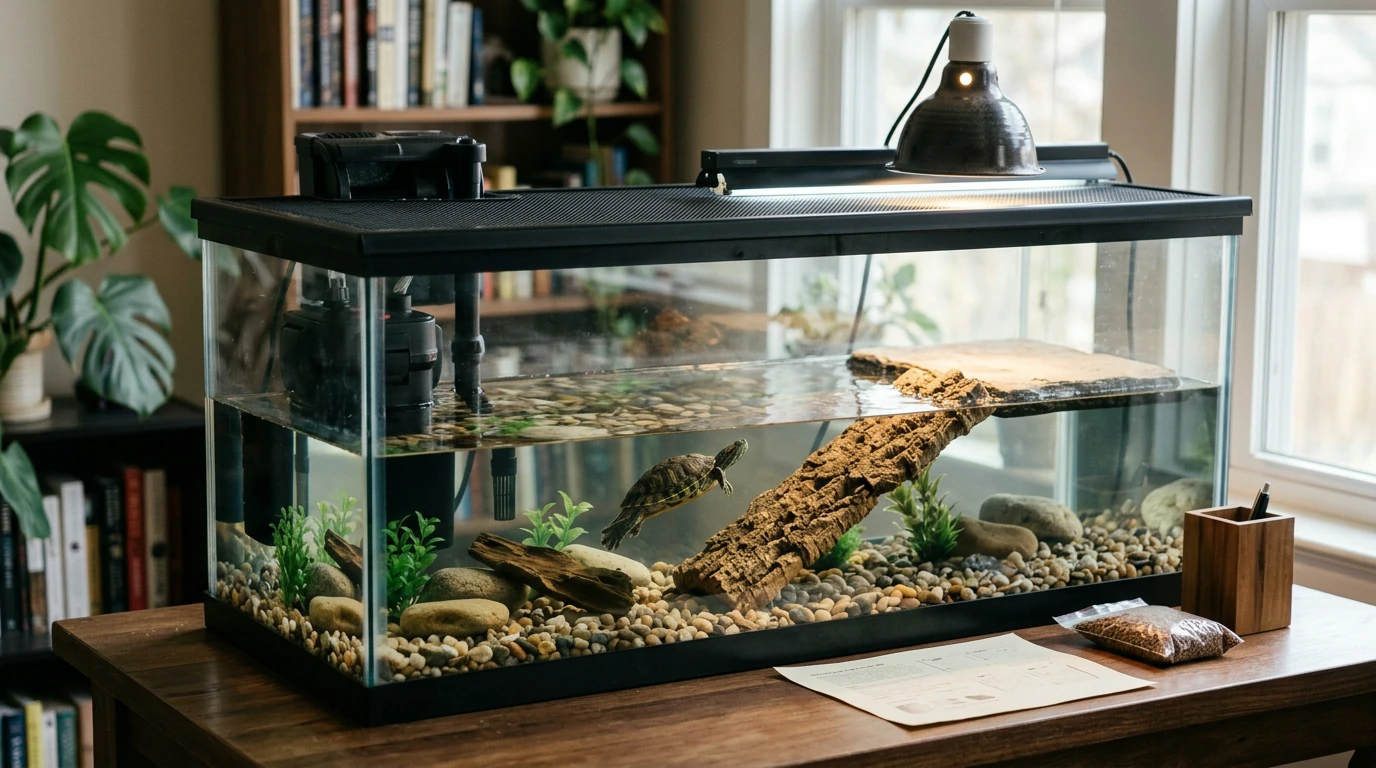
A turtle tank can look simple—water, a rock, a light—until water quality swings, basking stays too cool, or daily tasks start getting skipped. Our goal is a setup that works on autopilot: stable temperatures, strong filtration, safe basking, and a routine that’s easy for you to follow. Below is a practical plan you can build once and maintain with confidence, plus a simple way to keep care consistent from day one using our Turtle Tank Setup Essentials printable guide + digital checklist. For more guidance, see Animal Care Manuals.
The easiest turtle tank to maintain is rarely the smallest one. More water volume means waste is diluted, temperatures drift more slowly, and your weekly routine stays forgiving when life gets busy. For further reading, see AQUATIC TURTLECARE.
If you want a health and safety refresher that also covers household hygiene, the AVMA has a solid overview: Care of Pet Turtles (AVMA).
We see the same pattern over and over: the tank looks great on day one, but the equipment doesn’t support a simple weekly rhythm. The list below focuses on what makes care repeatable.
| Essential | Why it matters | Setup note |
|---|---|---|
| Dry basking platform | Prevents shell issues; supports thermoregulation | Must be fully dry and easy to climb |
| Heat lamp | Supports digestion and activity | Use a timer for daily consistency |
| UVB lighting | Supports calcium use and normal shell/bone health | Follow distance guidance; replace on schedule |
| High-capacity filter | Controls waste load and odor | Aim for turtle-level filtration, not fish-level |
| Water thermometer | Prevents slow stress from temperature drift | Check daily during the first week |
| Water test kit | Confirms cycling and water safety | Track ammonia/nitrite especially early on |
| Siphon + bucket | Fast, repeatable water changes | Keep these dedicated to the aquarium |
For household health context (especially around handwashing and cross-contamination), the FDA’s guidance is worth reviewing: Turtles and Salmonella (FDA).
When responsibilities rotate between family members (or you just have busy weeks), a written routine prevents “I thought you did it” gaps. Our team built Turtle Tank Setup Essentials to give you a repeatable setup path plus a recurring checklist you can actually stick to.
If you like using simple checklists to keep home routines consistent in general, our team also offers Thumb-Sucking Explained: Easy Tips & Tricks – Printable Checklist for Parents—a separate, family-focused tool built around the same “clear steps + easy tracking” approach.
A practical baseline is a partial water change every week with debris siphoning, then adjust based on tank size, filtration strength, and feeding volume. Use a test kit to confirm your routine is keeping ammonia and nitrite at safe levels, especially in newer setups.
Yes—heat and UVB serve different purposes. A heat lamp provides warmth for basking and digestion, while UVB supports normal calcium use and shell/bone health; use reptile-specific UVB and replace it on schedule.
Common causes include new-tank cycling, overfeeding, undersized filtration, or missed water changes. Testing ammonia/nitrite/nitrate and tightening your weekly maintenance routine usually resolves the problem faster than doing a full teardown.






Leave a comment